Hardrace Front LCA and STI bolt kit.
Following on from last weeks video we got cracking, ticking off the final jobs on #project86 as race tracks in NSW begin to open.
I started off by finishing the install of the bolt kit from Race Division. Last week I swapped out the steering rack bushings and installed the STI steering rack bolts from the Race Divison kit. This week we were left to do the front subframe bolts, rear subframe bolts and shims, rear shock bolts and finally my Hardrace front Lower Control Arms (LCA). Upon inspection I was skeptical that the STI bolts were any different but I busted the calipers out and took some measurements. I’ve also listed all the torque specs below also!
Front Subframe Bolts - 95Nm
The front subframe bolts were incredibly easy with the front LCA’s out although you can certainly do it without removing the arms. These are probably the least functional bolts in the kit to my simple brain but there was still a size increase in the STI bolts which you can see below.
OEM Bolt
STI Bolt
Rear Shock Bolts - 80Nm
Moving into the rear and probably the easiest bolt of them all. See where the shock bolts to your lower control arm? Pull it out and swap in the new one. Again the bolts in the kit were marginally bigger but bigger nonetheless as you can see below.
OEM Bolt
STI Bolt
Rear Subframe Bolts - 145Nm
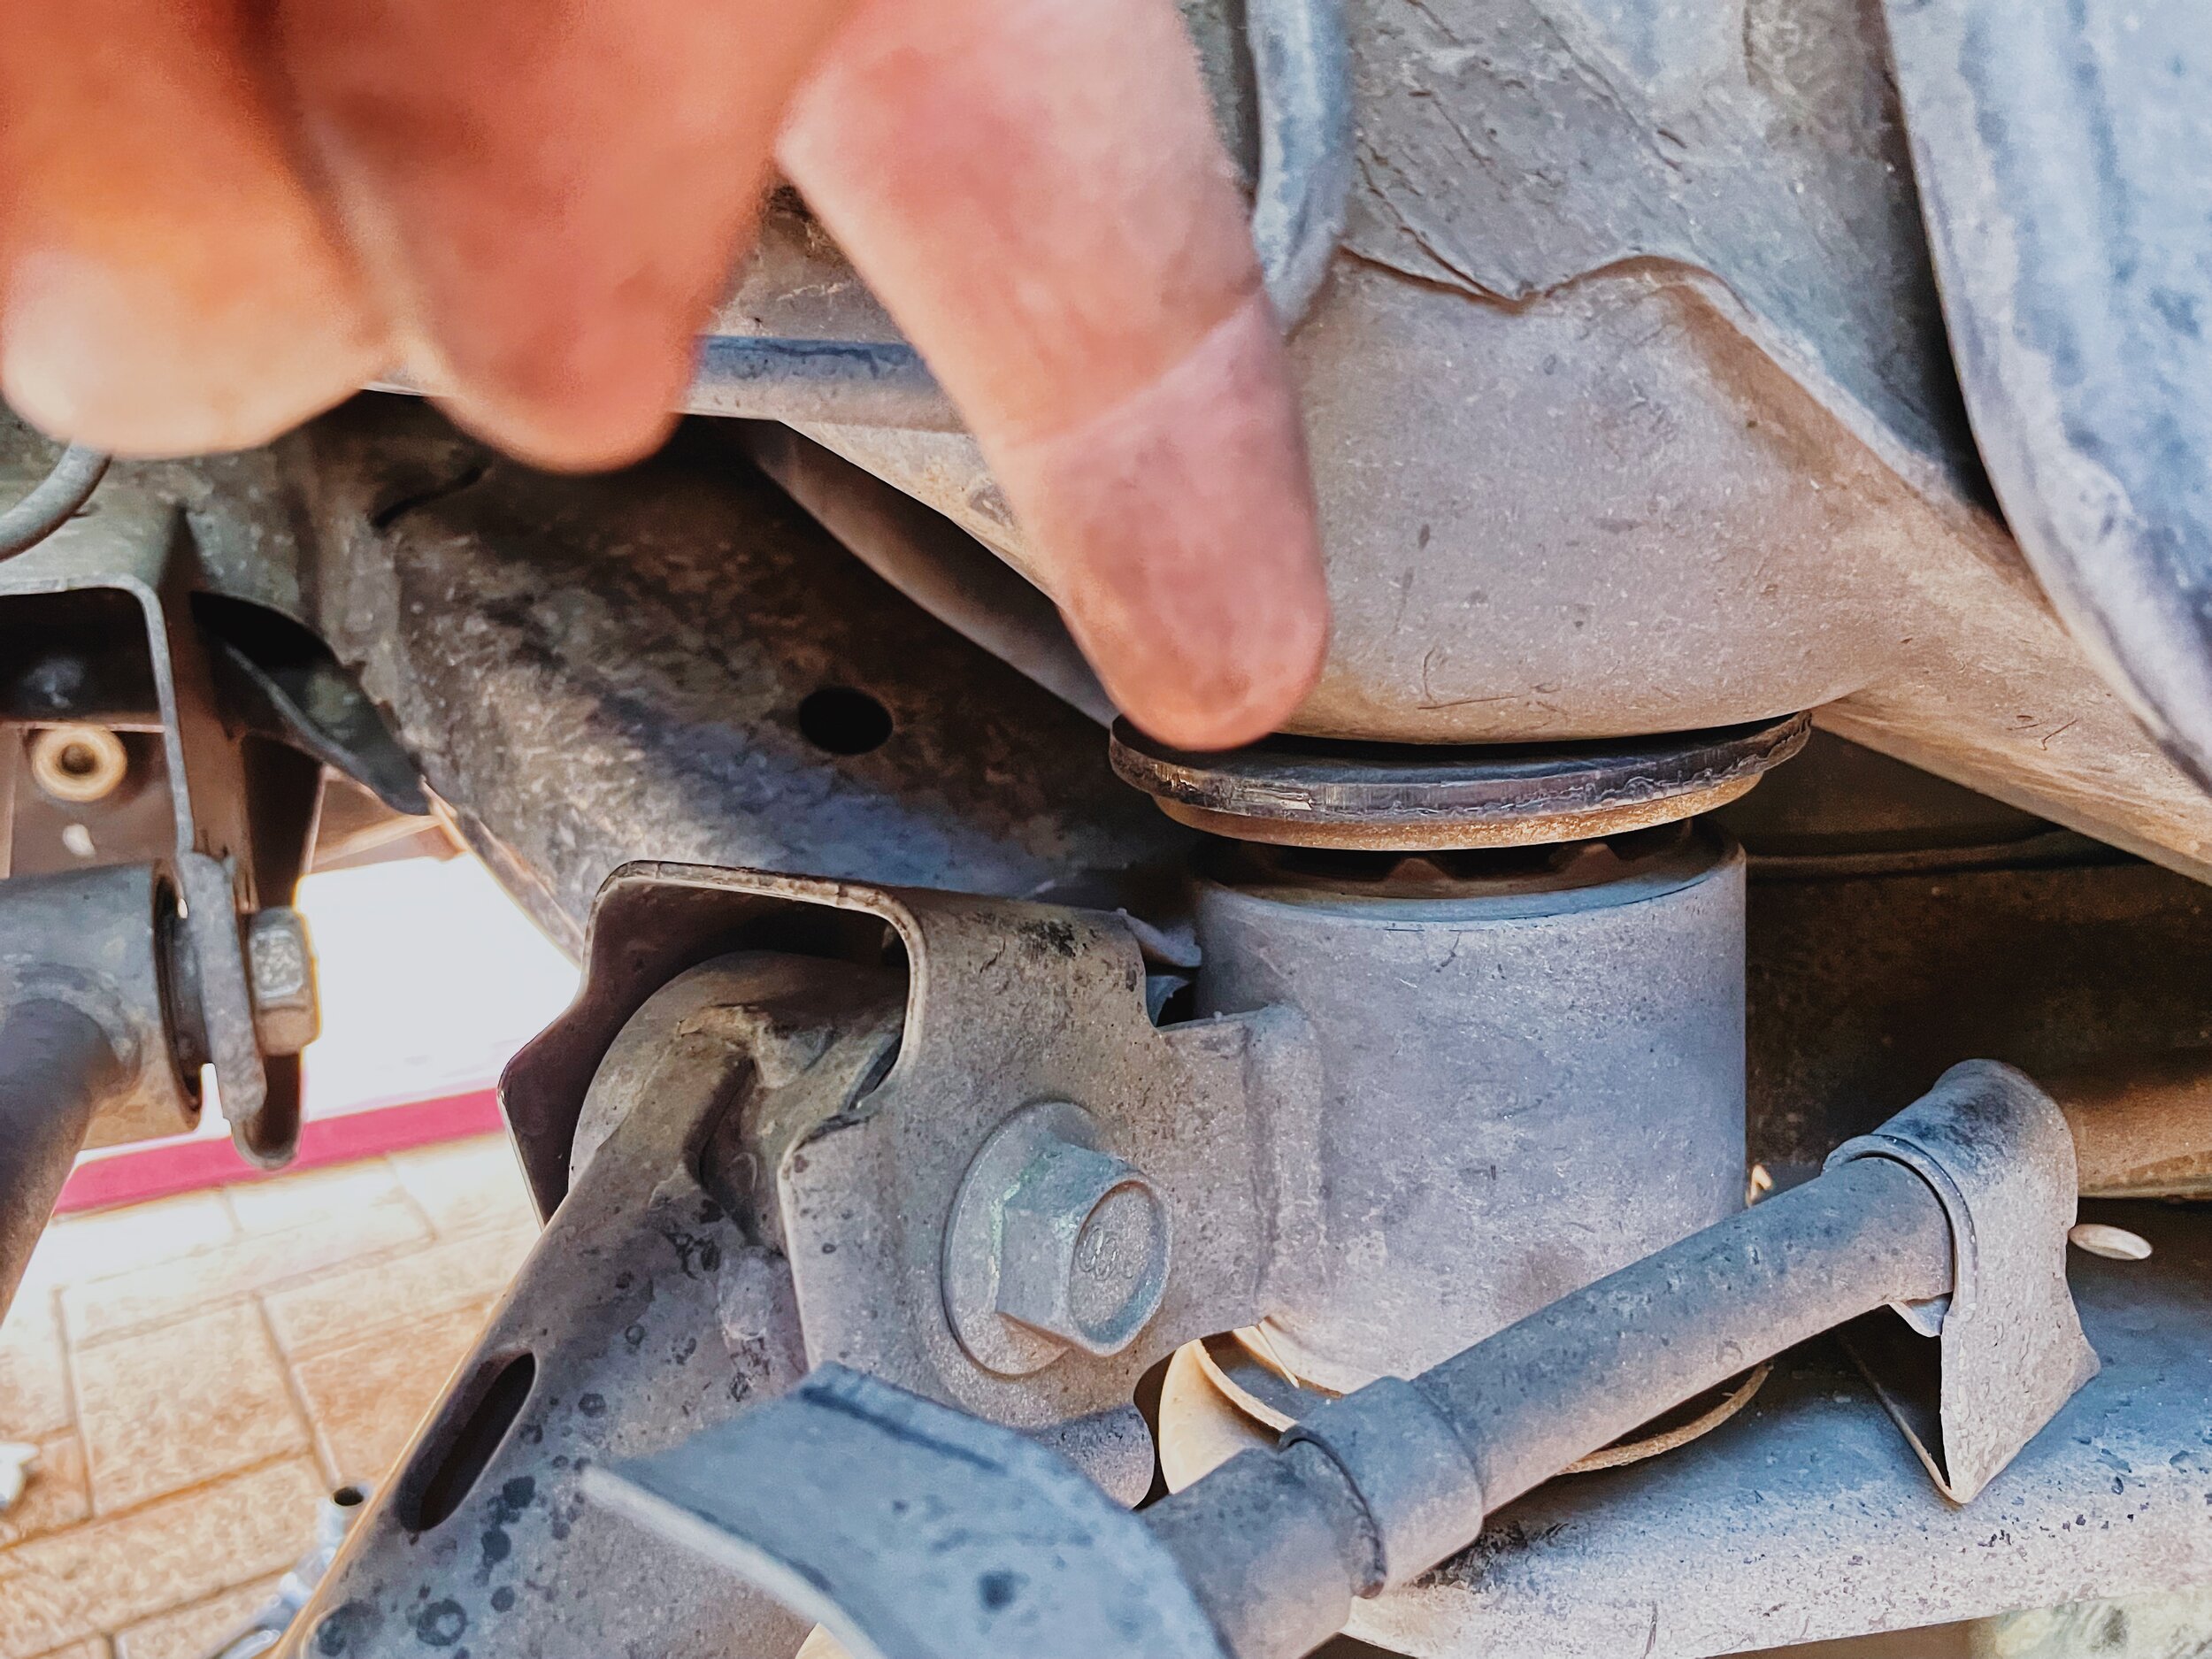
Now these (along with the steering rack bolts from last weeks video) are where the party starts in this bolt kit. The bolt and lockout washer are for the front side of the rear subframe and are drastically bigger, upto 1mm bigger in the shaft than the factory bolt. The lockout washer sits between the factory steel plate and the body of the car.
OEM Bolt
STI Bolt - STI bolt has the same thickness down the entire shaft hence only one measurement.
These bolts were the most functional in the kit with the aim of to reduce slop in the rear subframe. Whilst bushing inserts or complete bushing replacements would be ideal, I think this is a great middle ground for a reduction in slop and play without a great increase in NVH (Noise, Vibration & Harshness). The rear of the car feels noticeably livelier when you give the throttle a punt mid corner and it isn’t afraid to swing it’s hips. ESC seems to kick in far more often now that drive is actually being transmitted to the wheels.
Hardrace Front LCA (Pillowball)
This is where the party (and the money spending 😬) really starts! I opted for hardrace pillowball LCA with the relocated swaybar endlink pick up due to my ohlins constantly fouling on the end link.
Installation was fairly simple, thankfully I had a look and took some measurements of a set of hardrace arms a mate pulled out of his car so I had a good baseline before taking the car to Jordy Cox for an alignment. If you're not confident with the tape measure and don’t live close to the shop who will be doing your alignment I probably wouldn't recommend this as a DIY. Given the amount of adjustment with these arms it’s very easy to get your alignment very wrong and it can be quite dangerous.
So why spend over $1000 on lower control arms? Well there’s a couple of reasons, the first being the pillowballs. Moving away from the factory rubber bushings removes any deflection which keeps your suspension geometry consistent under load. The factory rubber bush allows movement, therefore changing your suspension geometry - albeit extremely minimal.
The other reason is steering feel and response. Mixed with the steering bushes we installed a couple of weeks ago, there are no longer any rubber bushings or mounts in my steering assembly and it feels great!
Another reason for front LCA is more camber adjustment and increased track. Instead of pulling the top of your struts in to gain negative front camber the adjustable LCA allow you to push the hubs out from the bottom not only giving you more range of camber adjustment but also an increase in track width along the way.
And finally, for me at least, is to relocate the front endlinks to stop them fouling on my Ohlins shocks.
Long story short it’s alot of cash for not a whole lot of gain and there’s definitely better places to spend $1200ish on this chassis but i’ve got zero regrets. So far the steering feels awesome and the increased track (and still filling the rolled guards with -4 camber) looks pretty gangster!
Our first trackday back is Tuesday week (19th) at SMSP and I cannot wait. I’ll be shooting and writing a full feature of V2 of #project86 in the coming weeks as quite abit has changed so keep your eyes peeled!


